Just two hints will comprise this quick start guide. (You should also read the instructions included in the download. They can be read and understood in perhaps ten minutes and will make you a Girder and Panel expert.) HINT 1: As you click elements into existence in various positions, you need not worry about elements incorrectly overlapping each other. This is to be expected unless you were carefully working in a "back to front" manner in accordance with your current perspective. When you tell "RogCAD Girder and Panel" to automatically redraw your design using the "File reader", your design elements will be drawn on screen in the correct order in accordance with whatever perspective is current at the time of the automatic redraw. Example of girders clicked into existence without regard to order:Example of output when automatically redrawn by the "File reader":
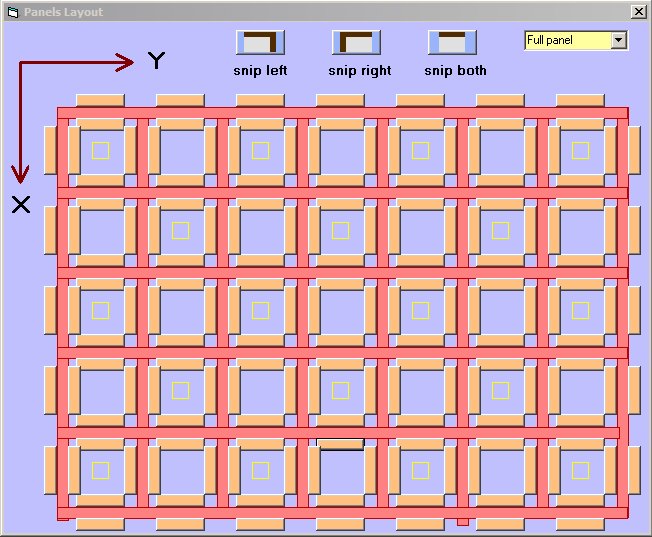
HINT 2: As you click panels into existence and you come to an inside corner, or to what you want to be an inside corner, you must click "snip left side" or "snip right side" (or "snip both sides") IN ADVANCE of clicking on the position for your panel. The default mode is "full panel" and that default mode is restored after each "snip" selection. The snip function is just like what you find in the physical toy "Girder and Panel" manufactured by Kenner in the 1960's. They recommended cutting panels with a scissors for use at inside corners.